0. 这篇文对你有什么用
参考我是怎么部署的。然后部署你自己的 Vue.js
部署成功时间:2018年6月22号
(我在部署这件事上花了2-3天,汗)
1. 背景信息
2018年5月开始学的 Vue.js,写单页应用。
因为 Ruby on Rails 的 coffeescript/jQuery 写前端写得太烦了
我用的是 webpack-simple 模板
vue init webpack-simple project-name
vue-router 做路由
vuex 做状态管理
.vue 单文件组件
后端:
JWT 做身份验证
Ruby on Rails 5 做后端
PostgreSQL 数据库
UCloud + Ubuntu 16.04 服务器
阿里云买的域名(备案了)
2. 为什么写这篇文
如果官方部署指南:https://vuejs.org/v2/guide/deployment.html
很好懂的话,可以一步步照做,那么也就不会有这篇文章了。
就是因为步骤写得不清楚
npm run build 之后
dist/ 有个 build.js (1.4MB) 和 build.js.map(7.6MB)
然后就不知道做什么了。
我是 Webpack 菜鸟。

谷歌搜 Vue.js deploy 出来的文章也没什么卵用。
所以写这篇文章
(更新)我去 Vue.js 官方提了个 Issue:
https://github.com/vuejs/vue/issues/8389
下面都说就和普通部署静态网站没啥区别,Vue.js 不需要做特殊步骤。
4. 正文
先讲最后的结果
Vue.js 部署到 https://wittcism.com/
Ruby on Rails 5 部署到 https://wittcism.com/backend/
原本想把后端部署到 https://api.wittcism.com 但因为 HTTPS 没有成功。
wildcard 通配 HTTPS 不方便搞(在这上面折腾了1天以失败告终)
付费的 HTTPS 太贵了,几千块钱,免费的 Let's Encrypt 没搞成功 wildcard。
额外讲一下 Vue + Rails
我这里虽然用了 Ruby on Rails。
但我没有用任何特殊的 gem 把 Vue 和 Rails 结合在一起(Webpacker 之类的)
我觉得那样反而费事,完全分离就好了,不搞那些乱七八糟的和 Rails 结合起来。
我不想把两个 codebase 放到一起,比如把 vue 放到 rails 的某个文件夹里。烦。
以后有前端工程师入职的话,要么把 Vue 拆出来,要么前端学一点 Rails 的知识。都不是很好的方案。所以从一开始就分离就好了。
所以 Vue.js 和 Rails 我分别弄了2个文件夹。2个 Github 私有库。
步骤
1. npm run build
这一步做完得到 dist/build.js 和 dist/build.js.map

2. 我的图片文件和第三方的 js/css 都放到了 /static/ 目录
有人喜欢放到 public/ 目录也 OK,这里只是说一下我是取名 static/
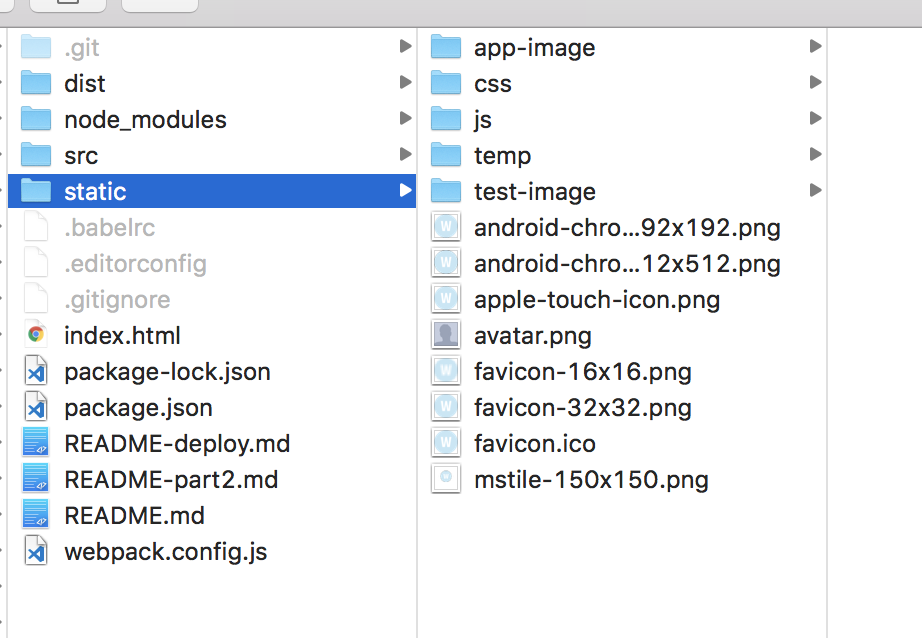
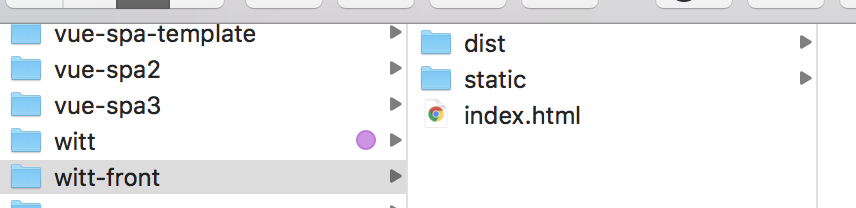
3. 把必要的文件放到一个文件夹里
index.html
/dists/
/static/
放到一个文件夹里,我这里取名 witt-front
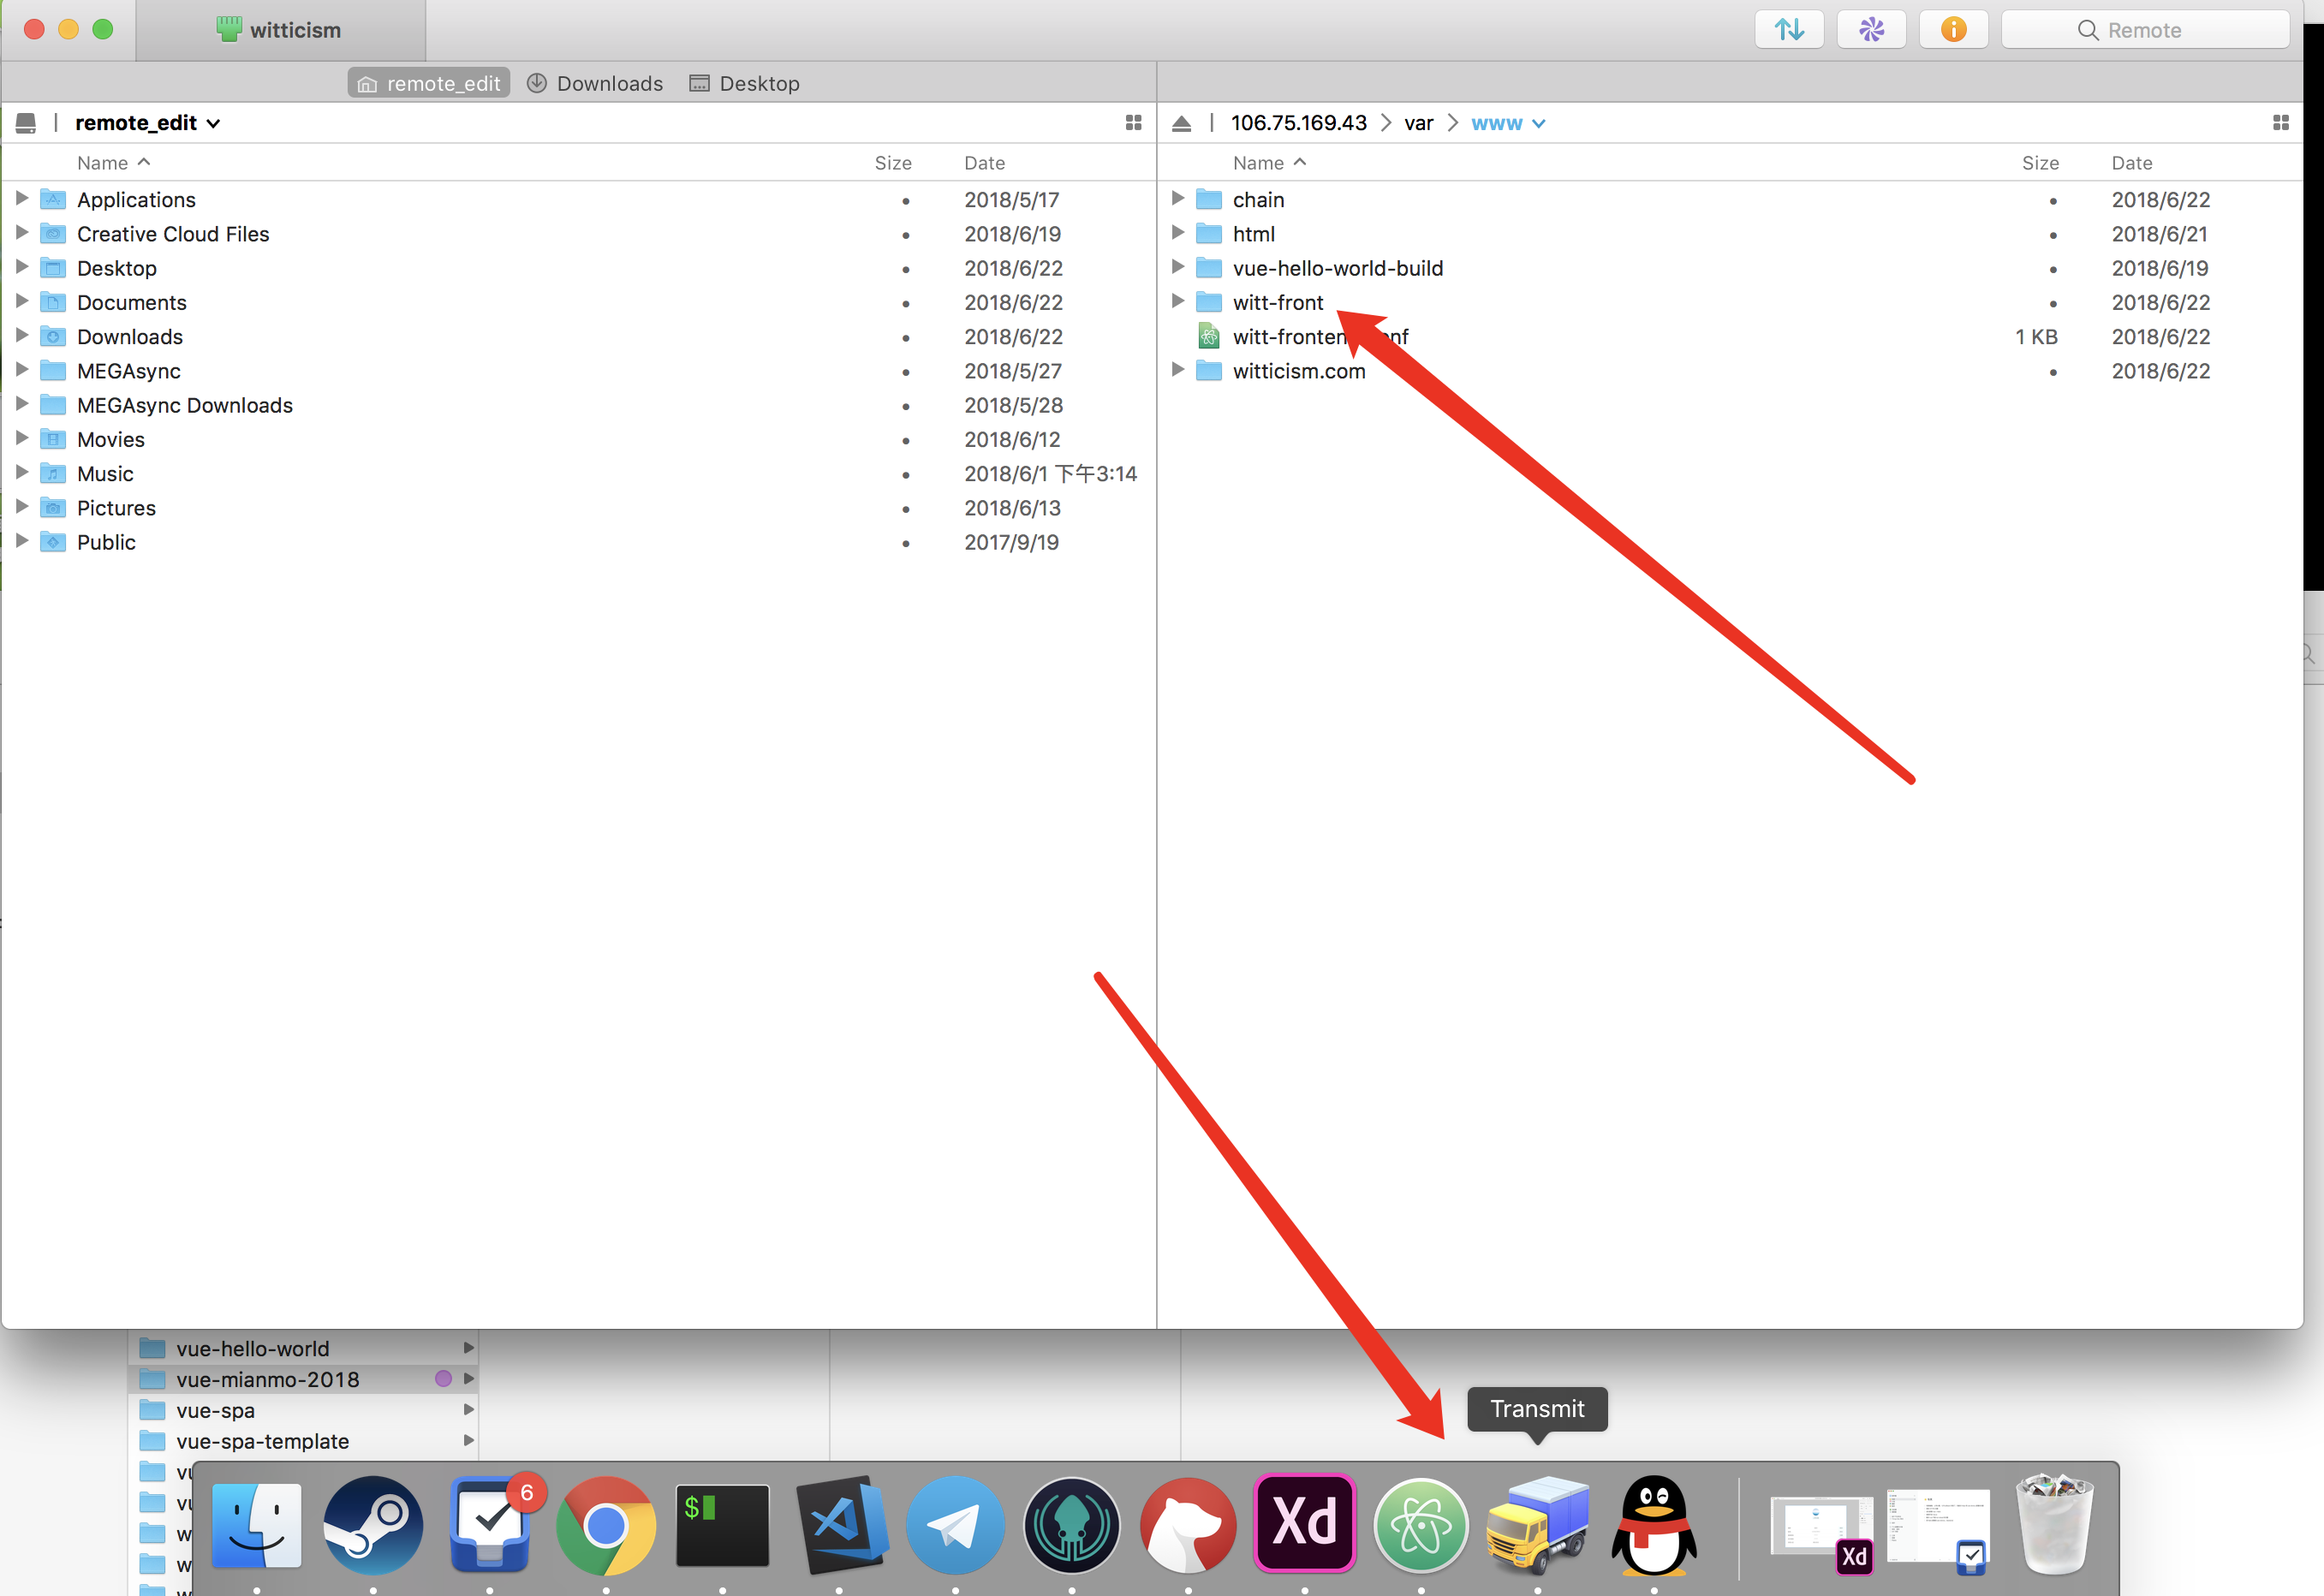
4. 文件夹 SFTP 传到服务器
因为我用的是 Mac, 我就用 Transimit(卡车 LOGO)传到服务器上去
5. 配置 nginx
我建了一个 witt-front.conf 文件来放 nginx 配置,文件内容如下,供参考
upstream app_witt {
    server unix:///tmp/witt.sock;
}
server {
listen 80;
server_name wittcism.com www.wittcism.com;
return 301 https://$server_name$request_uri;
}
server {
listen 443 http2 default_server;
ssl on;
ssl_certificate     /var/www/chain/full_chain.pem;
ssl_certificate_key /var/www/chain/private.key;
root /var/www/witt-front/;

# 把 Rails 挂到 /backend 目录
location ^~ /backend {
   try_files $uri/index.html $uri @app_witt;
}

location / {
    try_files /index.html =404;
}

gzip on;
gzip_types application/javascript image/* text/css;
gunzip on;

location ~* \.(jpg|jpeg|png|gif|ico)$ {
  expires 30d;
}
location ~* \.(css|js)$ {
  expires 7d;
}

error_page 500 502 503 504 /500.html;
client_max_body_size 4G;
keepalive_timeout 10;

location @app_witt {
    root /var/www/witticism.com/current/public;
    proxy_pass http://app_witt;
    proxy_set_header X-Forwarded-For $proxy_add_x_forwarded_for;
    proxy_set_header Host $http_host;
    proxy_redirect off;
    proxy_set_header  X-Forwarded-Proto $scheme;
    proxy_set_header  X-Forwarded-Ssl on; # Optional
    proxy_set_header  X-Forwarded-Port $server_port;
    proxy_set_header  X-Forwarded-Host $host;
}

}
这一堆配置本质上是:
- 配 HTTPS
- 主站在 /var/www/witt-front/ 文件夹(我们的 Vue.js)
- /backend/ 交给 Ruby on Rails 处理
Nginx 的教程可以自己网上搜搜,我也是边学边搞,这里就不详细解释文件里每一行的含义了。
可以看 nginx 的官方文档来看 server listen root location 是什么意思。
也可以读下这个:https://www.oschina.net/translate/nginx-tutorial-basics-concepts
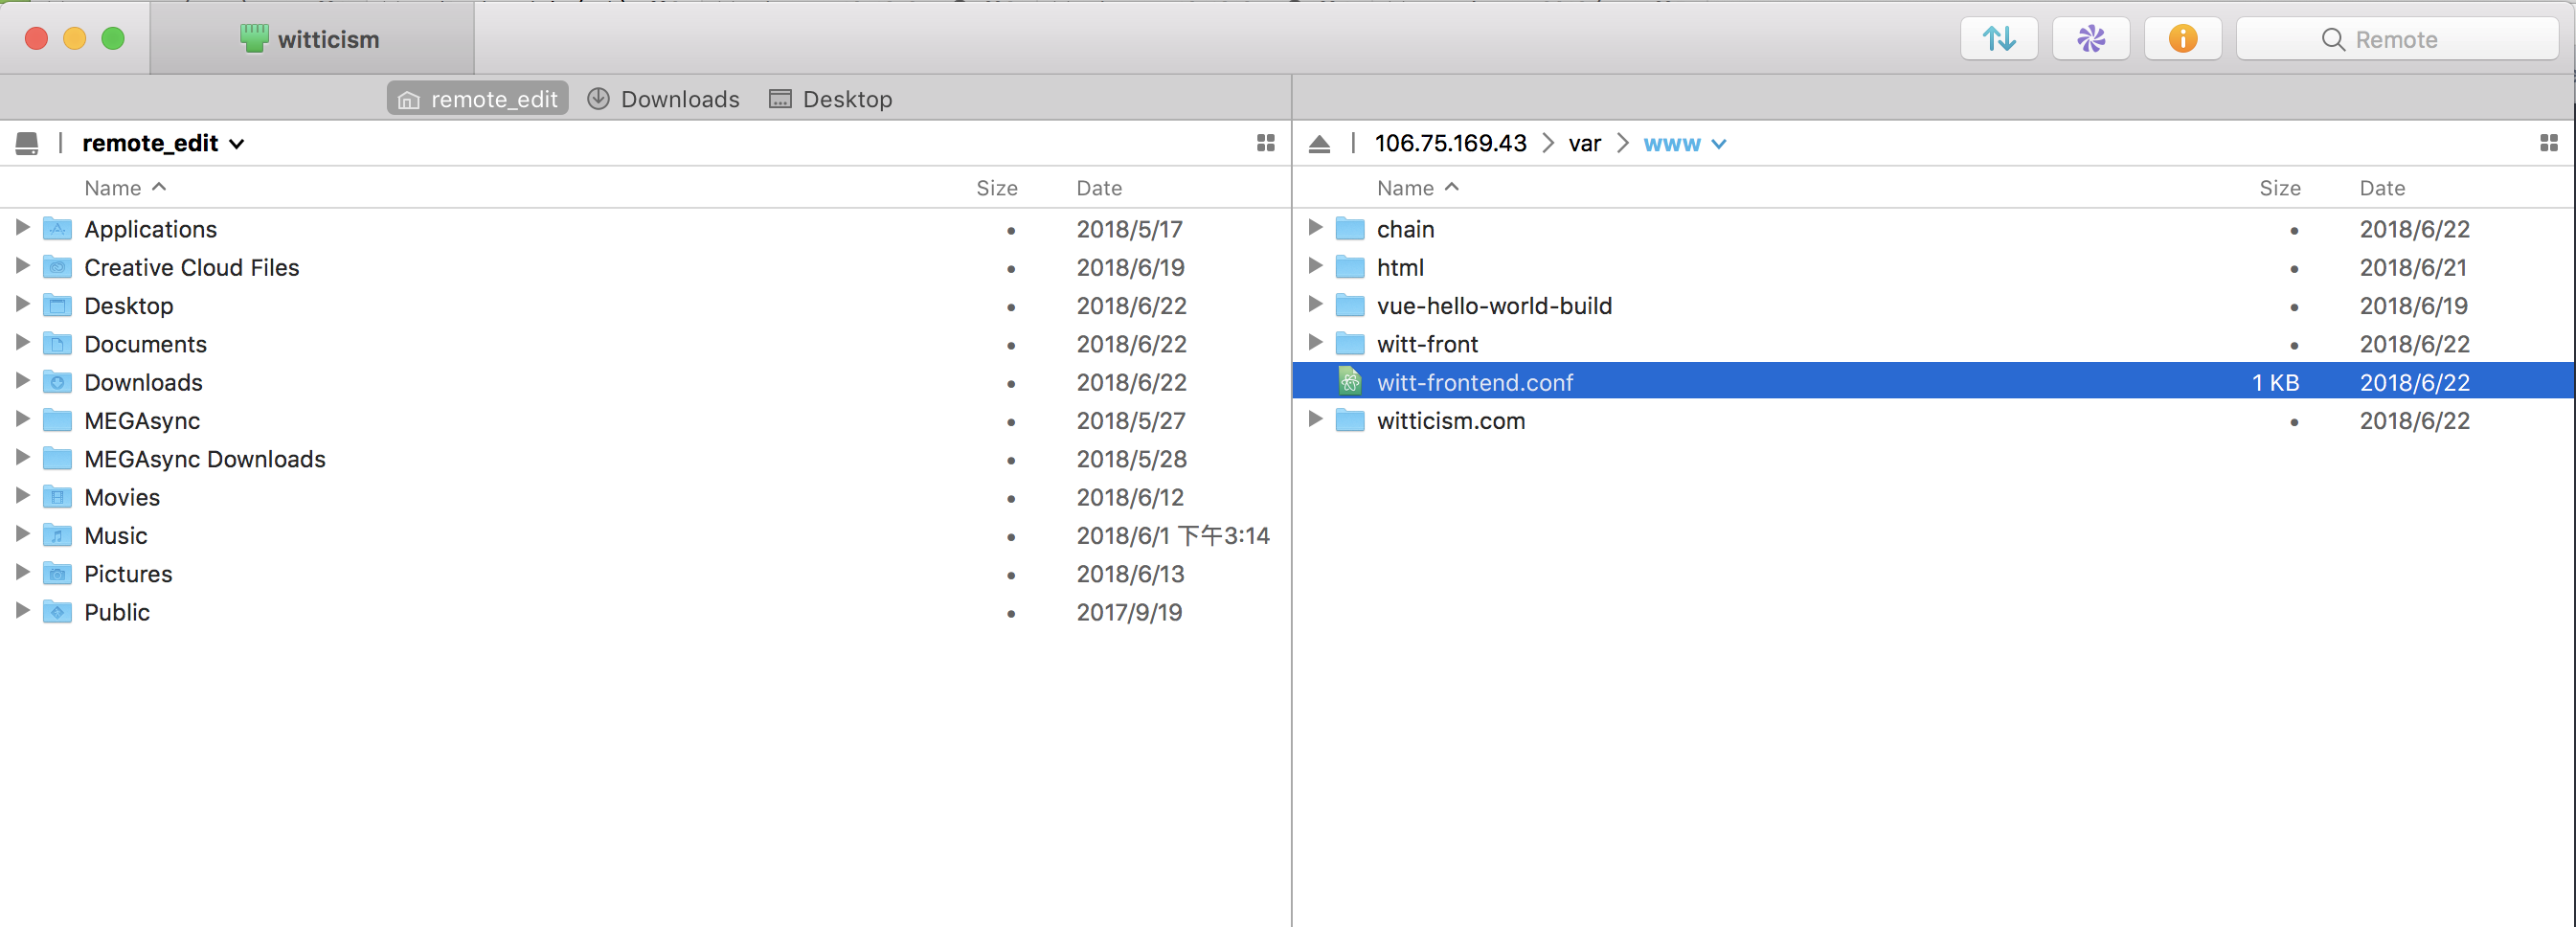
6. SFTP 把 witt-front.conf 传到服务器的 /var/www/
witt-front.conf这个命名没有特殊含义,我只是这样叫而已。你可以取其他名字。- 放到服务器的
/var/www也没有特定含义,你喜欢的话可以放其他地方
7. 让 nginx 配置生效
Nginx 会读 /etc/nginx/sites-enabled 里的配置
但是我不喜欢把文件挪过去,所以我们用软连接:
sudo ln -s /var/www/witt-frontend.conf /etc/nginx/sites-enabled/witt-frontend.conf
然后
# 测试配置是否正确
sudo nginx -t
如果没问题了,重启 nginx
sudo nginx -s stop
sudo nginx
8. 可以了
现在访问你的主站看看行不行,我反正可以。
大小
build.js 是 1.4MB,build.js.map 是 7,8M 左右。
我看看怎么优化到 400kb 以下,其他用懒加载来做就好。
虽然只有第一次会有 1.4M,之后都会从缓存加载。但还是要优化一下。加快第一次访问的速度
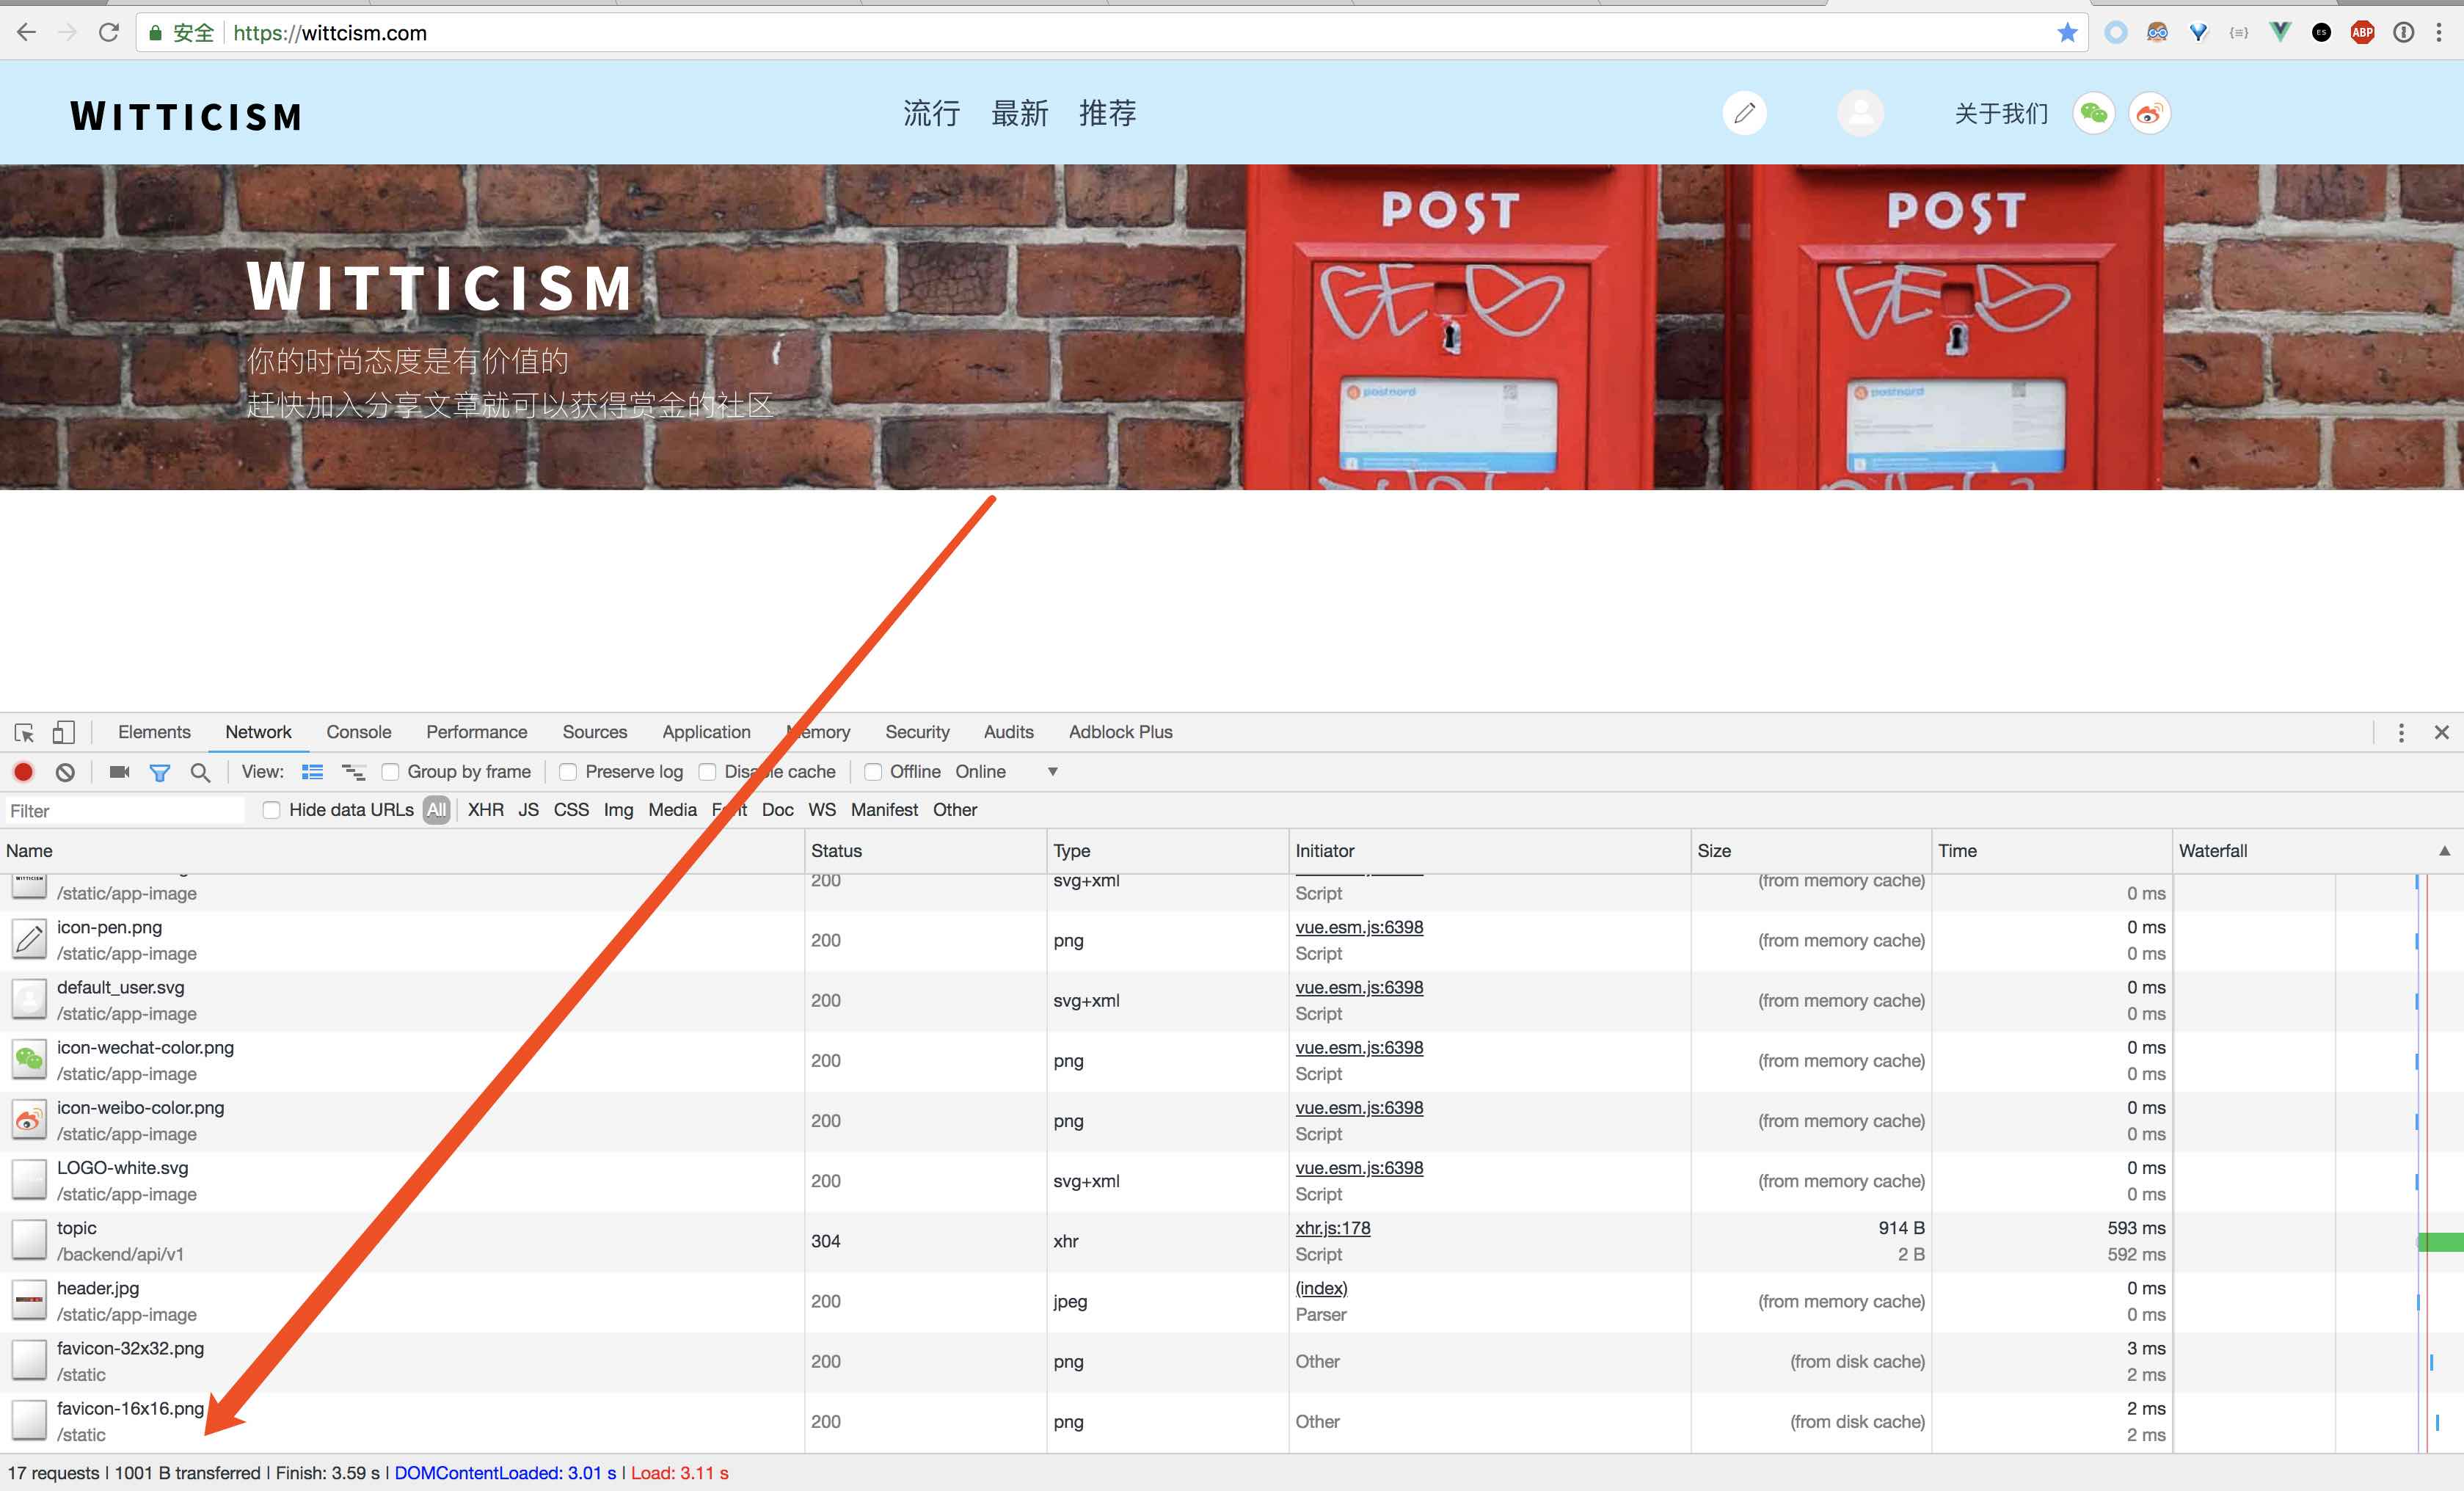
(图片里不是第一次加载了,所以大小不是很大)
2018-6-23 更新
之前在 9.可以改进的地方 写过如下问题:
- 缓存问题:index.html 里的
<script src="/dist/build.js"></script>有缓存问题。用户的浏览器看到 build.js 是同名的,就不会抓新的版本。
今天解决了这个缓存问题,思路是每次文件内容变了,让文件名也变化,让浏览器去抓取这个新文件。
具体方法是在 webpack.config.js 里面写配置,用 html-webpack-plugin 这个插件,
然后每次生成的 .js 文件名会变成 main.5fb342182d0d06595acf.js 这样,
然后 index.html 文件也是动态生成的,引入 main.5fb342182d0d06595acf.js 这个文件
可参考资料:
https://github.com/jantimon/html-webpack-plugin
以下贴出我的 webpack.config.js 全部内容
var path = require('path')
var webpack = require('webpack')
const CleanWebpackPlugin = require('clean-webpack-plugin');
const HtmlWebpackPlugin = require('html-webpack-plugin');
module.exports = {
entry: ‘./src/main.js’,
output: {
path: path.resolve(__dirname, ‘./dist’),
publicPath: ‘/dist/’,
filename: ‘build.js’,
},
module: {
rules: [{
test: /.md$/,
use: ‘raw-loader’
},
{
test: /.css$/,
use: [
‘vue-style-loader’,
‘css-loader’
],
},
{
test: /.scss$/,
use: [
‘vue-style-loader’,
‘css-loader’,
‘sass-loader’
],
},
{
test: /.sass$/,
use: [
‘vue-style-loader’,
‘css-loader’,
‘sass-loader?indentedSyntax’
],
},
{
test: /.vue$/,
loader: ‘vue-loader’,
options: {
loaders: {
// Since sass-loader (weirdly) has SCSS as its default parse mode, we map
// the "scss" and "sass" values for the lang attribute to the right configs here.
// other preprocessors should work out of the box, no loader config like this necessary.
‘scss’: [
‘vue-style-loader’,
‘css-loader’,
‘sass-loader’
],
‘sass’: [
‘vue-style-loader’,
‘css-loader’,
‘sass-loader?indentedSyntax’
]
}
// other vue-loader options go here
}
},
{
test: /.js$/,
loader: ‘babel-loader’,
exclude: /node_modules/
},
{
test: /.(png|jpg|gif|svg)$/,
loader: ‘file-loader’,
options: {
name: ‘[name].[ext]?[hash]’
}
}
]
},
resolve: {
alias: {
‘vue$’: ‘vue/dist/vue.esm.js’,
‘@’: path.resolve(__dirname, ‘./src/’),
},
extensions: [’*’, ‘.js’, ‘.vue’, ‘.json’]
},
devServer: {
historyApiFallback: true,
noInfo: true,
overlay: true
},
performance: {
hints: false
},
devtool: ‘#eval-source-map’
}
if (process.env.NODE_ENV === ‘production’) {
module.exports.devtool = ‘#source-map’
// http://vue-loader.vuejs.org/en/workflow/production.html
module.exports.output = {
path: path.resolve(__dirname, ‘./dist’),
publicPath: ‘/dist/’,
filename: ‘[name].[hash].js’,
},
module.exports.plugins = (module.exports.plugins || []).concat([
new webpack.DefinePlugin({
‘process.env’: {
NODE_ENV: ‘"production"’
}
}),
new webpack.optimize.UglifyJsPlugin({
sourceMap: true,
compress: {
warnings: false
}
}),
new webpack.LoaderOptionsPlugin({
minimize: true
}),
new CleanWebpackPlugin([‘dist’]),
new HtmlWebpackPlugin({
title: ‘Wittcism’,
filename: ‘./index.html’,
template: ‘./template/index.html’
// template: path.resolve(__dirname, ‘index.html’),
}),
])
}
9. 可以改进的地方
-
部署流程:我现在需要手工 SFTP 把新的 build.js 传到服务器的 /dist/ 然后清空缓存刷新页面。手工传文件这个步骤希望通过
npm run deploy之类的命令搞定。我看看怎么优化这个。最终跑一个命令就直接更新了。 -
部署地点:我现在是部署到自己的 UCloud 服务器,
其实静态资源(.html .js .jpg 之类的)
扔到什么七牛,又拍云,AWS S3 之类的也没啥问题。只是域名的指向我要看看怎么配置才能做到。 -
版本回退:现在如果要做版本回退(比如前端 VUE 写错了一些东西,改正需要一些时间,先回退到之前的版本)只能手工做。
-
主站还没做响应式(media query),来方便手机浏览。